Easy Chunky Crochet Ear Warmer: Free Beginner Pattern
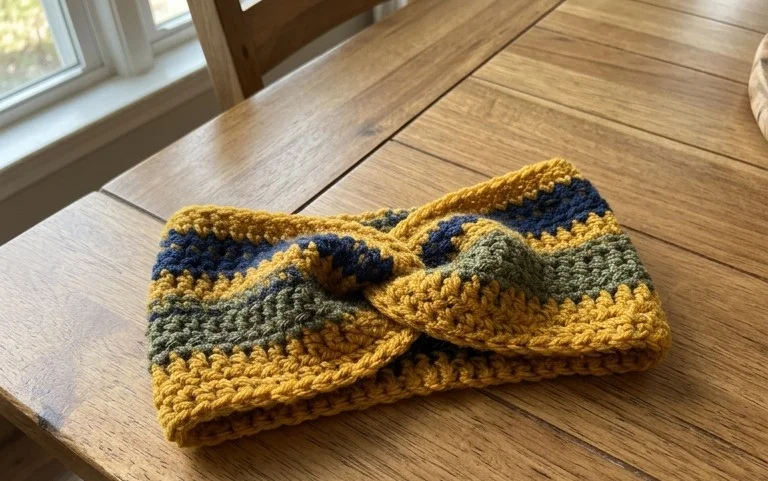
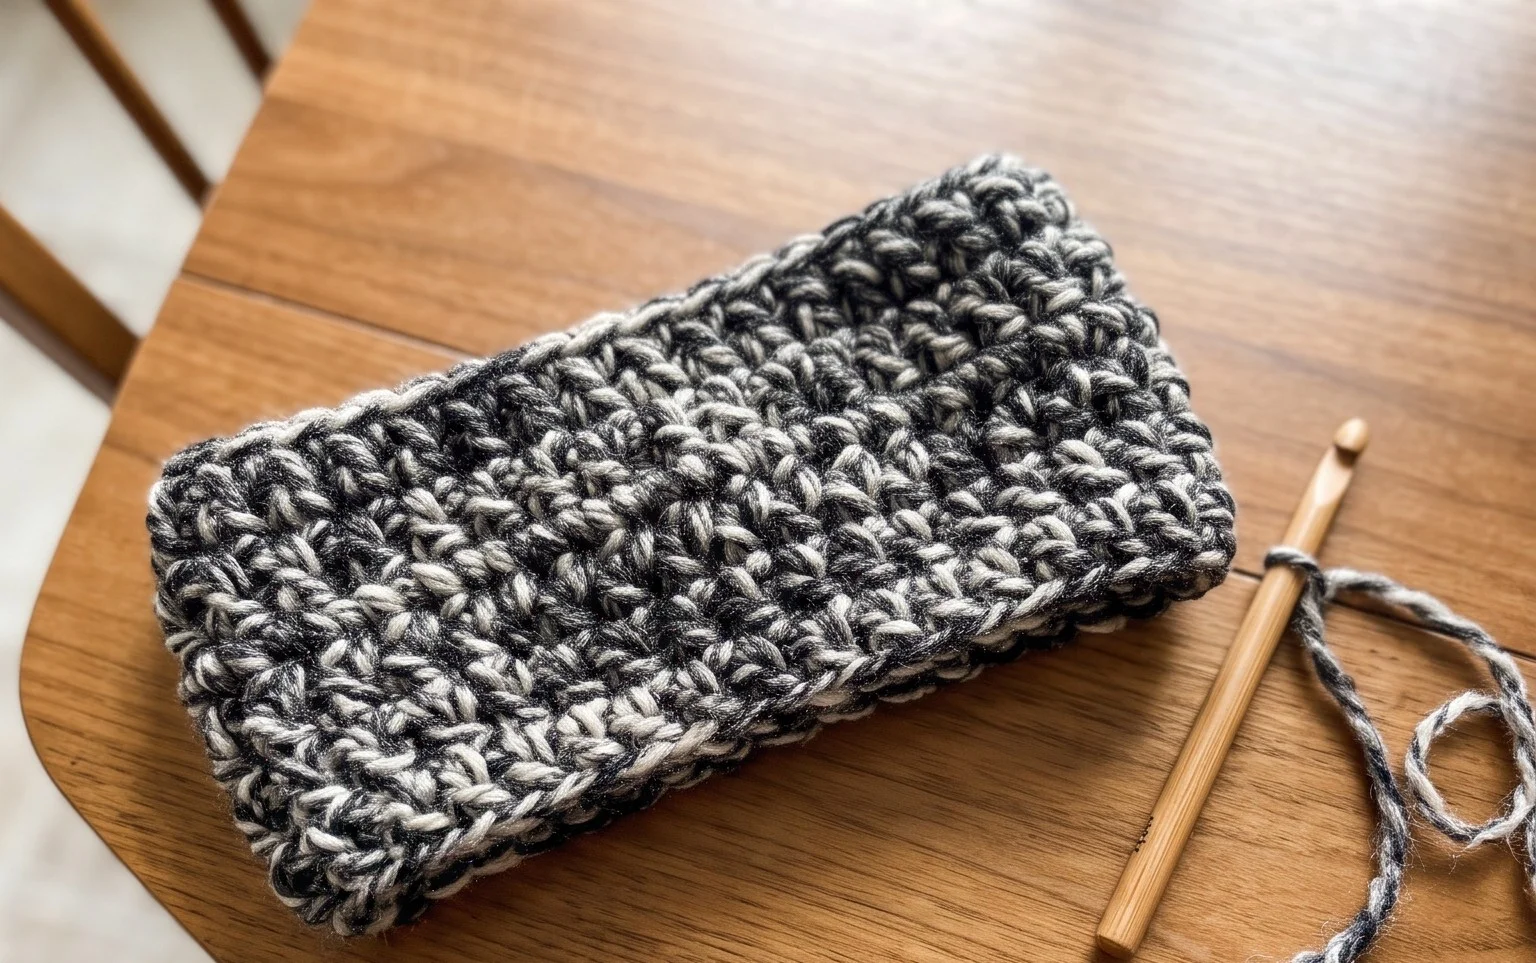
A thick, squishy band of yarn wrapped around your head keeps the biting winter wind away while keeping your hairstyle intact. This chunky ear warmer mimics the look of high-end boutique accessories using only basic half double crochet stitches worked into the back loops. It serves as a gentle introduction to texture for beginners because the rhythmic nature of the back-loop rows creates a dense, ribbed fabric that forgives minor tension mistakes. You will finish this project in a single afternoon, making it a reliable solution for quick birthday gifts or stocking stuffers that feel genuinely thoughtful and custom-made.
Why You’ll Love This Pattern
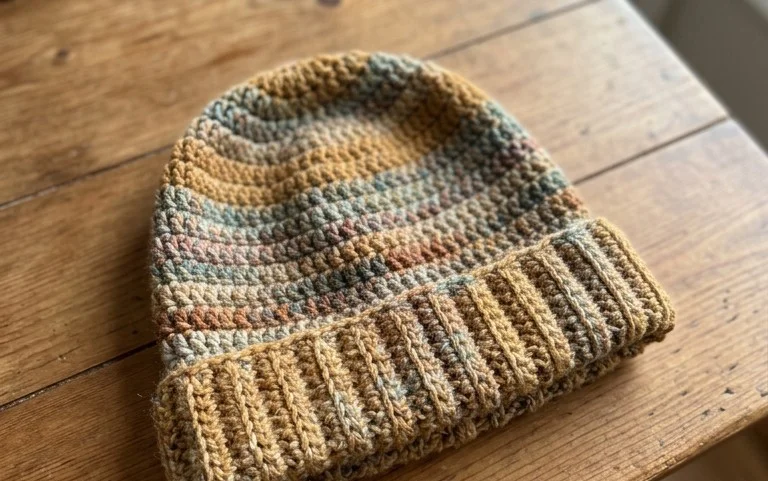
This crochet ribbed beanie is a classic design that relies on simple half double crochet stitches worked in the back loops to create a stretchy, professional-looking texture. It is a quick project that works up in just a few hours, making it an ideal choice for last-minute handmade gifts or refreshing your own winter wardrobe. Because the hat is worked as a flat rectangle and seamed afterward, it is a low-stress project that helps you master tension control without the complexity of constant circular increases. The finished fabric is dense and warm, providing excellent wind resistance for cold weather.
I finally learned how to make a hat that does not look homemade, and the ribbing is so stretchy that it fits everyone in my family perfectly.
— Sarah, hobbyist crocheter
Pattern Overview & Skill Level
- Skill Level: Beginner
- Approximate Time: 3 to 5 hours
- Construction: Worked flat as a rectangle, then seamed to form a tube and cinched at the top.
- Finished Dimensions: 9 inches tall by 18 inches circumference (unstretched), fits an average adult head.
Materials & Supplies Needed
- Yarn: Worsted weight (#4) acrylic or wool blend, approximately 200 yards.
- Hook Size: 5.5 mm (US I-9).
- Notions: Tapestry needle for seaming and weaving ends, locking stitch markers, and a tape measure.
- Yarn substitutions: You can use a lighter DK weight yarn, but you will need to add more starting chains to reach the desired height and more rows to match the circumference. A chunky yarn will require a larger hook and fewer rows.
Stitch Guide & Abbreviations (US Terms)
- ch: Chain
- hdc: Half double crochet
- BLO: Back loop only (insert hook under the back loop of the stitch instead of both loops to create ridges)
- st/sts: Stitch/stitches
- sl st: Slip stitch
Step-by-Step Pattern Instructions
Main Body
- Row 1: Ch 41. Hdc in 2nd ch from hook and each ch across. Turn. (40 sts)
- Row 2: Ch 1, hdc in BLO of each st across. Turn. (40 sts)
- Rows 3–60: Repeat Row 2 until the piece measures approximately 18 inches wide when laid flat.
Assembly and Finishing
- Fold the rectangle in half so the short edges meet.
- Working through both layers, join the edges with a row of sl st across to form a tube.
- Fasten off, leaving a 15-inch tail of yarn.
- Thread the tail onto your tapestry needle and weave it in and out of every other stitch along the top edge of the tube.
- Pull the yarn tight to cinch the top of the hat closed.
- Secure the top with several knots on the inside and weave in all remaining loose ends.
Care & Washing Instructions
- Machine wash on a gentle cycle in cool water (30°C/86°F) using a mild detergent.
- Lay the hat flat on a clean towel to air dry, reshaping it while damp to prevent stretching.
- Avoid using a tumble dryer, as high heat can shrink synthetic fibers and distort the ribbing pattern.
Pro Tips & Common Mistakes to Avoid
Maintain consistent tension throughout the project by keeping your yarn flow smooth; if you notice your stitches getting tighter or looser as you work, take a break to reset your hand position. Always place a stitch marker in the first stitch of every row to ensure you do not accidentally skip stitches, as losing stitches will cause the rectangle to taper unevenly. Weave in your ends by traveling through the thickest part of the ribbing rows to ensure the yarn is hidden and secure during washing. If you want a larger size, add chains to your foundation row in multiples of two, but keep in mind that this will require more total yardage.
Frequently Asked Questions
Can I use cotton yarn for this beanie?
While possible, cotton yarn lacks the natural elasticity of wool or acrylic blends. This may result in a hat that does not retain its shape well after repeated wear.
How do I adjust the height of the hat?
To make the hat shorter or longer, simply adjust the number of stitches in your foundation chain. Add chains for a slouchy fit or subtract them for a snugger fit.
Is this pattern suitable for complete beginners?
Yes, this pattern only requires knowing how to chain and half double crochet. It is a great way to practice maintaining consistent stitch counts without complex shaping.
Can I sell finished items made from this pattern?
You are welcome to sell finished products created from this design. Please credit the original pattern designer when listing your items online.
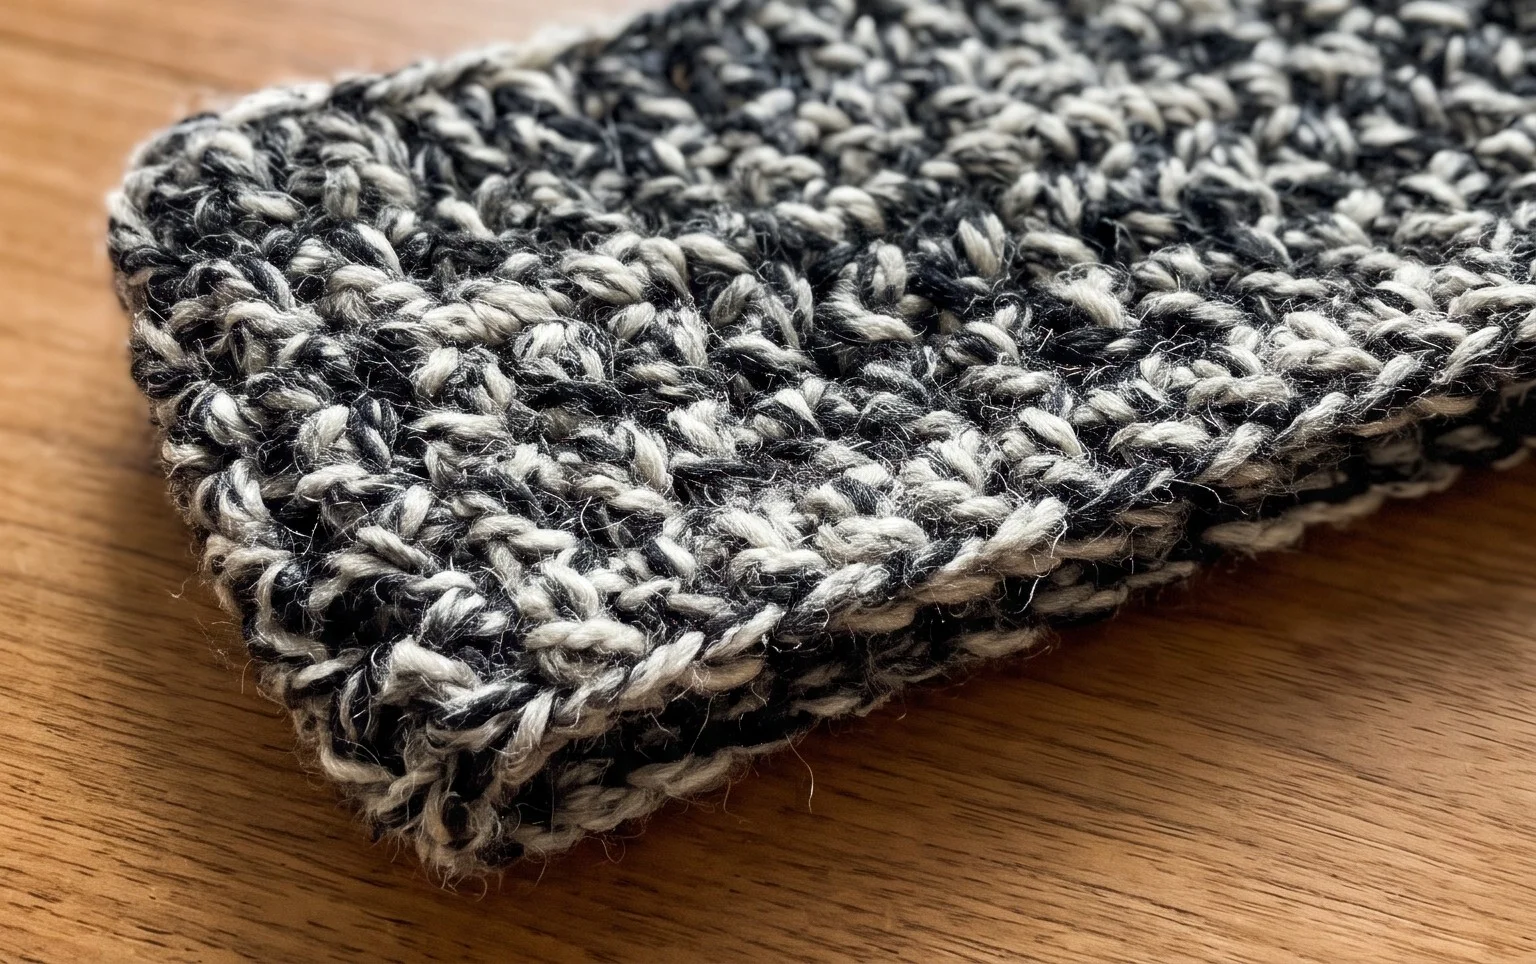
Your finished project provides a cozy barrier against cold drafts, especially when made with a dense wool blend that retains body heat. If you want to customize your next version, try switching to a gradient yarn for a bold color transition or adding a large faux fur pom-pom to the side for a playful aesthetic. We love seeing your unique color choices, so consider sharing a photo of your work on your favorite social media site. You can also head back to the main archives to find more free projects for your collection.