Easy Nordic Hook Club Coaster: Free Beginner Pattern
These cotton coasters sit flat on a table with a dense, rhythmic texture that keeps condensation away from your wood surfaces. They represent a classic Scandinavian approach to home decor where functionality dictates form, making them a satisfying project for anyone new to working with yarn. You will find that the process of building the round creates a sense of calm, while the finished pieces offer a sturdy weight that cheap felt alternatives lack. This guide walks you through the basics of the spiral single crochet stitch, which removes the need to worry about awkward gaps or messy joining points at the end of each round.
Why You’ll Love This Pattern
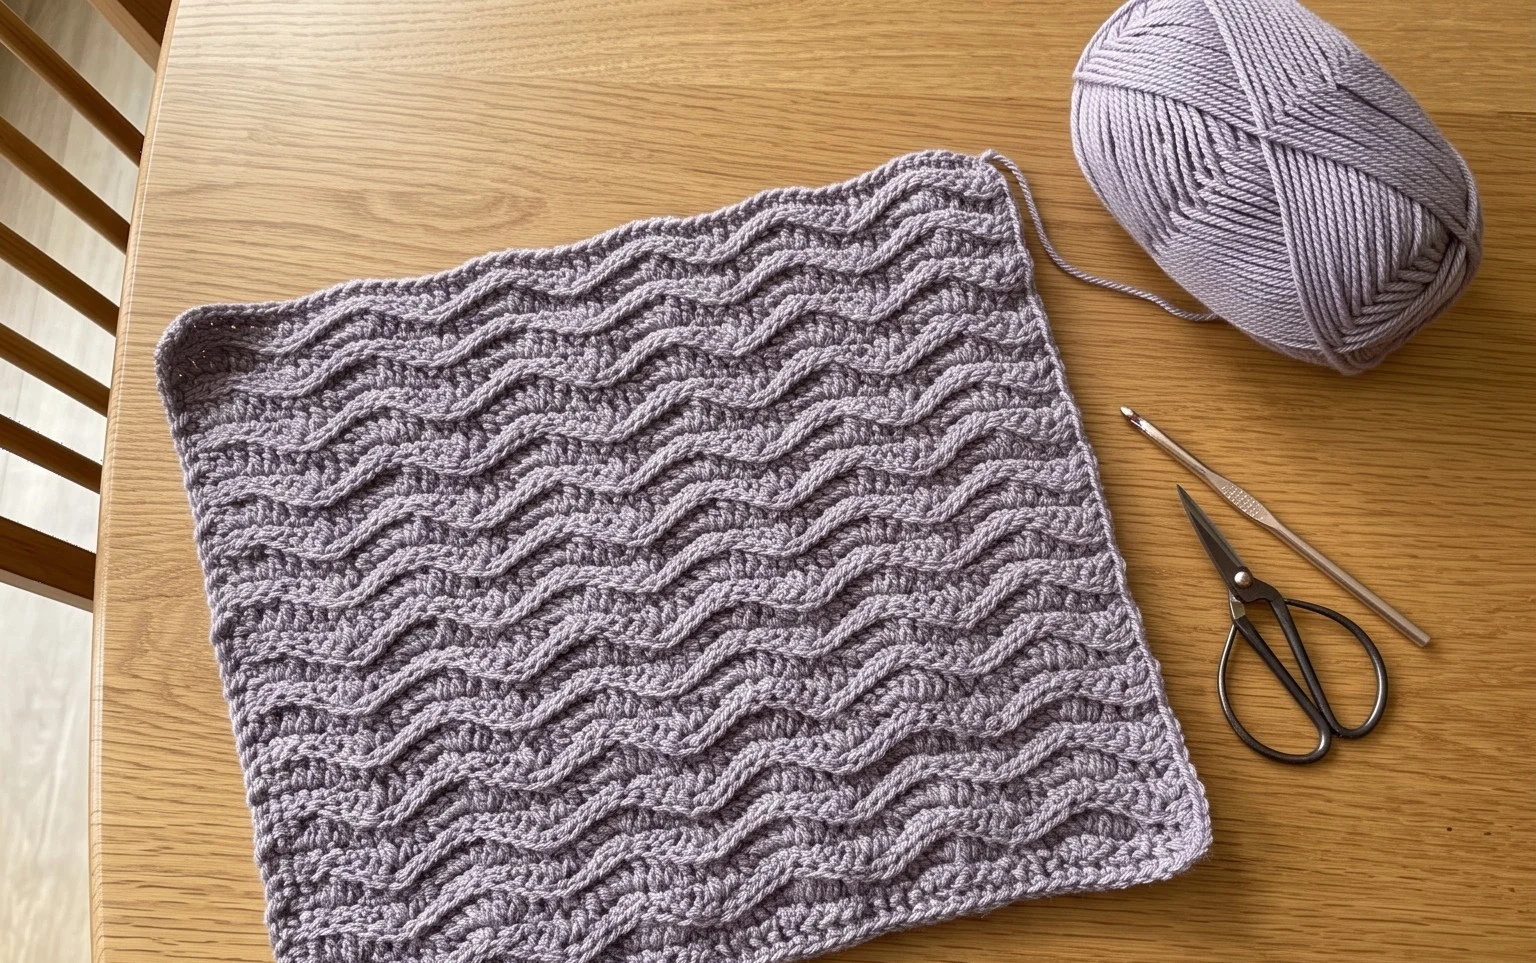
This beginner-friendly crochet coaster pattern provides a practical way to protect your furniture while practicing fundamental stitch techniques. The design relies on a continuous spiral of single crochet stitches, making it an ideal choice for new crafters who want to avoid the visible seam that occurs when joining rounds. Because each coaster uses only a small amount of yarn, it serves as a functional project for clearing out remnants from larger stash-heavy blankets. The finished size is compact enough to store easily, yet thick enough to absorb condensation from cold glassware.
I managed to whip up a set of four in a single evening while watching a movie. The instructions were very easy to follow and the result is both sturdy and professional looking.
— Sarah, casual hobbyist
Pattern Overview & Skill Level
- Skill Level: Beginner
- Approximate Time: 30 to 45 minutes per coaster
- Construction: Worked in continuous rounds from the center outward
- Finished Dimensions: Approximately 4 inches in diameter
Materials & Supplies Needed
- Yarn: Worsted weight (#4), 100% cotton, approximately 15 yards per coaster. Cotton is preferred for its absorbency and heat resistance.
- Hook Size: 5.0 mm (US H-8)
- Notions: Tapestry needle for weaving in ends, locking stitch marker for tracking the start of rounds.
- Yarn Substitutions: Acrylic yarn may be substituted but will not be as absorbent or heat-resistant as cotton. Wool is a suitable alternative for cold drinks but requires careful hand washing. Changing the fiber or weight will alter the final diameter.
Stitch Guide & Abbreviations (US Terms)
- ch: chain
- sc: single crochet
- inc: 2 single crochet stitches in the same space
- sl st: slip stitch
- st/sts: stitch/stitches
- MR: magic ring
- Continuous Rounds: Working in a spiral without joining at the end of each round. Use a stitch marker to track the first stitch.
Step-by-Step Pattern Instructions
Coaster Body
- Rnd 1: Make a MR and work 6 sc into the ring. Place a stitch marker in the first sc (6 sts).
- Rnd 2: Work 2 sc in each st around (12 sts).
- Rnd 3: 1 sc, inc in next st repeat from * to * 6 times (18 sts).
- Rnd 4: 1 sc in next 2 sts, inc in next st repeat from * to * 6 times (24 sts).
- Rnd 5: 1 sc in next 3 sts, inc in next st repeat from * to * 6 times (30 sts).
- Rnd 6: 1 sc in next 4 sts, inc in next st repeat from * to * 6 times (36 sts).
- Rnd 7: 1 sc in next 5 sts, inc in next st repeat from * to * 6 times (42 sts).
Finishing
After completing Round 7, work one final sl st into the next stitch to smooth the transition. Fasten off the yarn, leaving a 6-inch tail for weaving. Use a tapestry needle to pull the yarn tail through the back loops of the final stitches, securing the end firmly. Weave the starting tail into the center magic ring to ensure it does not unravel after repeated use.
Care & Washing Instructions
- Machine wash in cold water on a gentle cycle using a mesh laundry bag.
- Lay the coaster flat on a towel to air dry to prevent stretching or warping of the circular shape.
- Reshape the coaster by hand while damp and allow it to dry completely before placing it on wood furniture.
Pro Tips & Common Mistakes to Avoid
Maintain consistent tension throughout the project to ensure the coaster lies completely flat. If the edges begin to curl upward, your tension is likely too tight; try going up one hook size or intentionally loosening your yarn hold. Always move your stitch marker at the beginning of each round to avoid losing your place, as continuous rounds lack a clear finishing point for each row. You can easily adjust the size of the coaster by adding or omitting final increase rounds, though note that a larger size will require additional yardage.
Frequently Asked Questions
Can I use a different yarn weight for this pattern?
Yes, you can use a lighter or heavier yarn, but be aware that it will significantly change the finished size. A thinner yarn will result in a smaller coaster, while a thicker yarn will create a larger, bulkier one.
Why is my coaster bubbling in the middle?
Bubbling usually happens when there are too many stitches in a round, causing the fabric to ripple rather than lie flat. Double-check your stitch counts against the instructions to ensure you have not added extra increases.
Is this pattern suitable for complete beginners?
Yes, this is an excellent starter project. It teaches the essential mechanics of working in the round and increasing, which are the foundational skills for many complex amigurumi and circular projects.
Am I allowed to sell coasters made from this pattern?
You are welcome to sell finished items created from this design. Please credit the original pattern design when listing your handmade goods for sale.
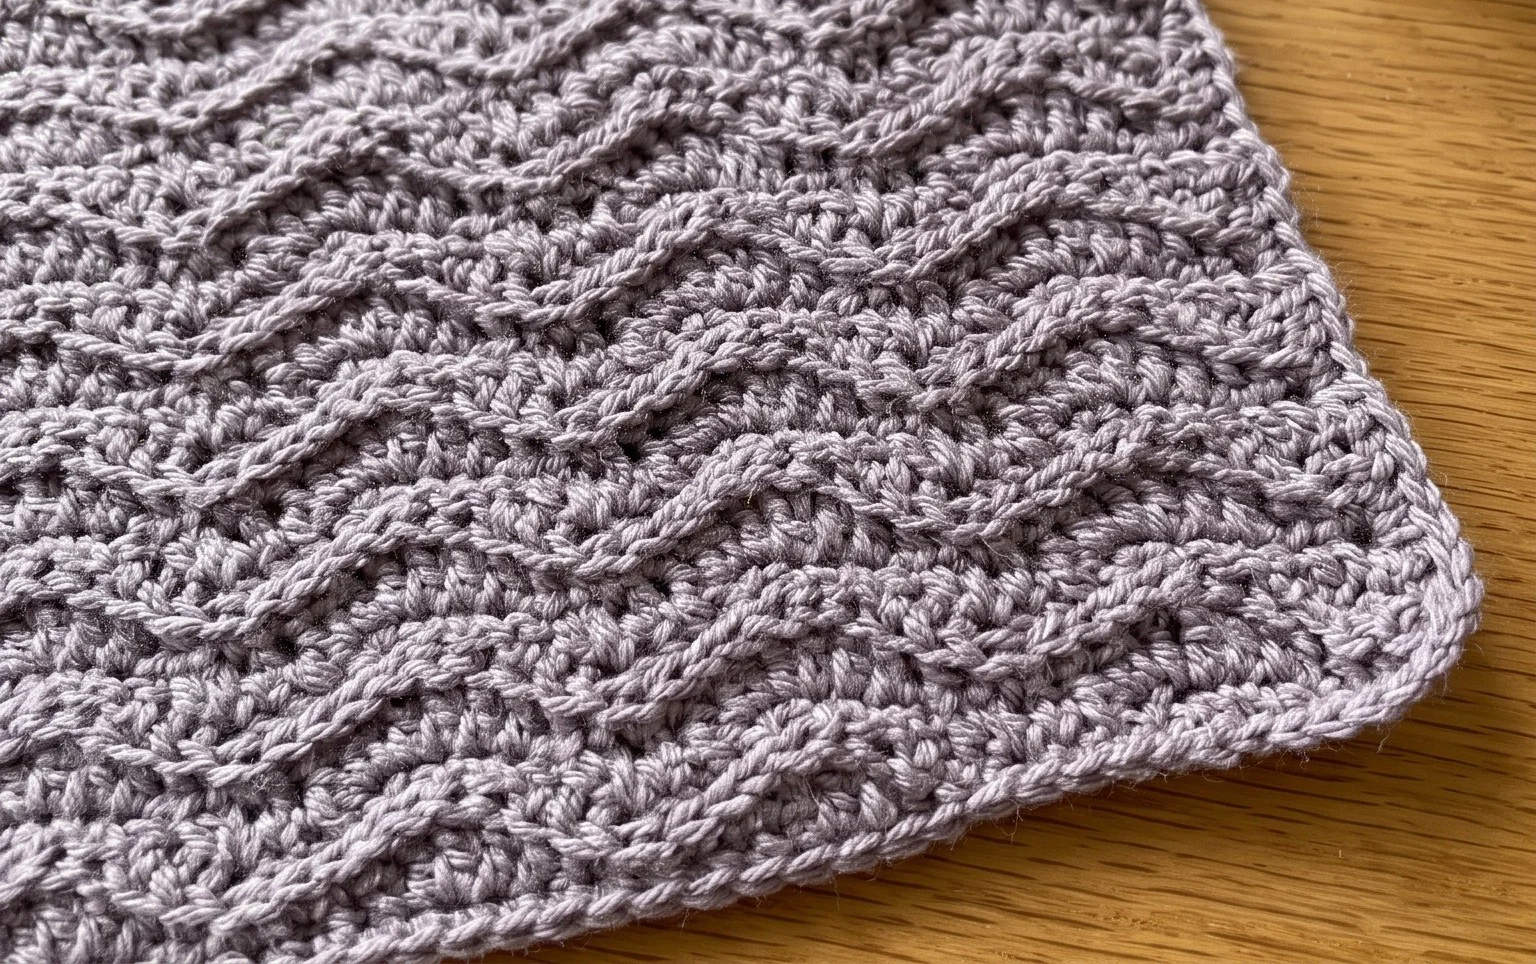
Your new coasters look great sitting under a mug of warm tea or a cold glass of lemonade. You can customize the look by using a two-toned yarn or by stitching a thick border in a contrasting color to match your kitchen decor. Posting a photo of your finished work online helps other makers find inspiration for their own stash-busting projects. If you enjoyed this build, check our blog archives for more simple patterns designed for quick weekend sessions and practical home improvements.