Easy Monkey Hat Crochet Pattern: Free Step-by-Step Guide
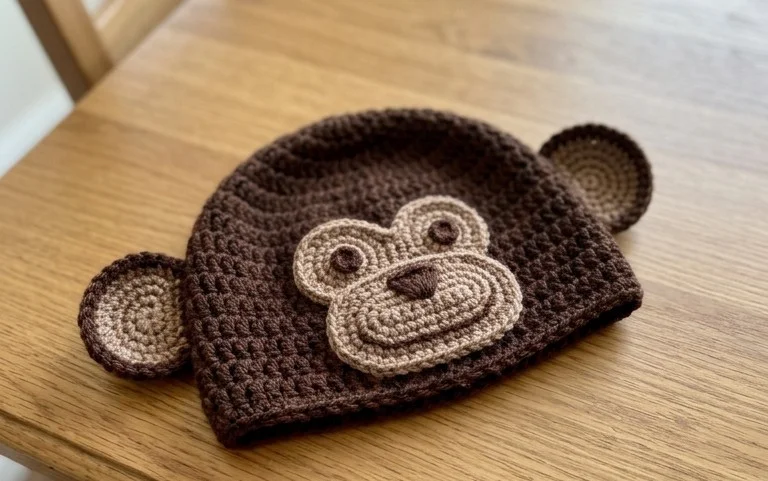
Soft wool against your ears brings a sense of comfort on a chilly afternoon, especially when you have handcrafted the headgear yourself. This whimsical project results in a playful beanie that suits children and adults who enjoy a touch of humor in their winter wardrobe. Beginners find this construction approachable because it avoids complex rounds, focusing instead on simple rows that build height quickly. You will master the back loop only stitch to create that signature ribbed texture. It is a satisfying task that turns a few balls of yarn into a finished accessory during a quiet weekend indoors.
Why You’ll Love This Pattern
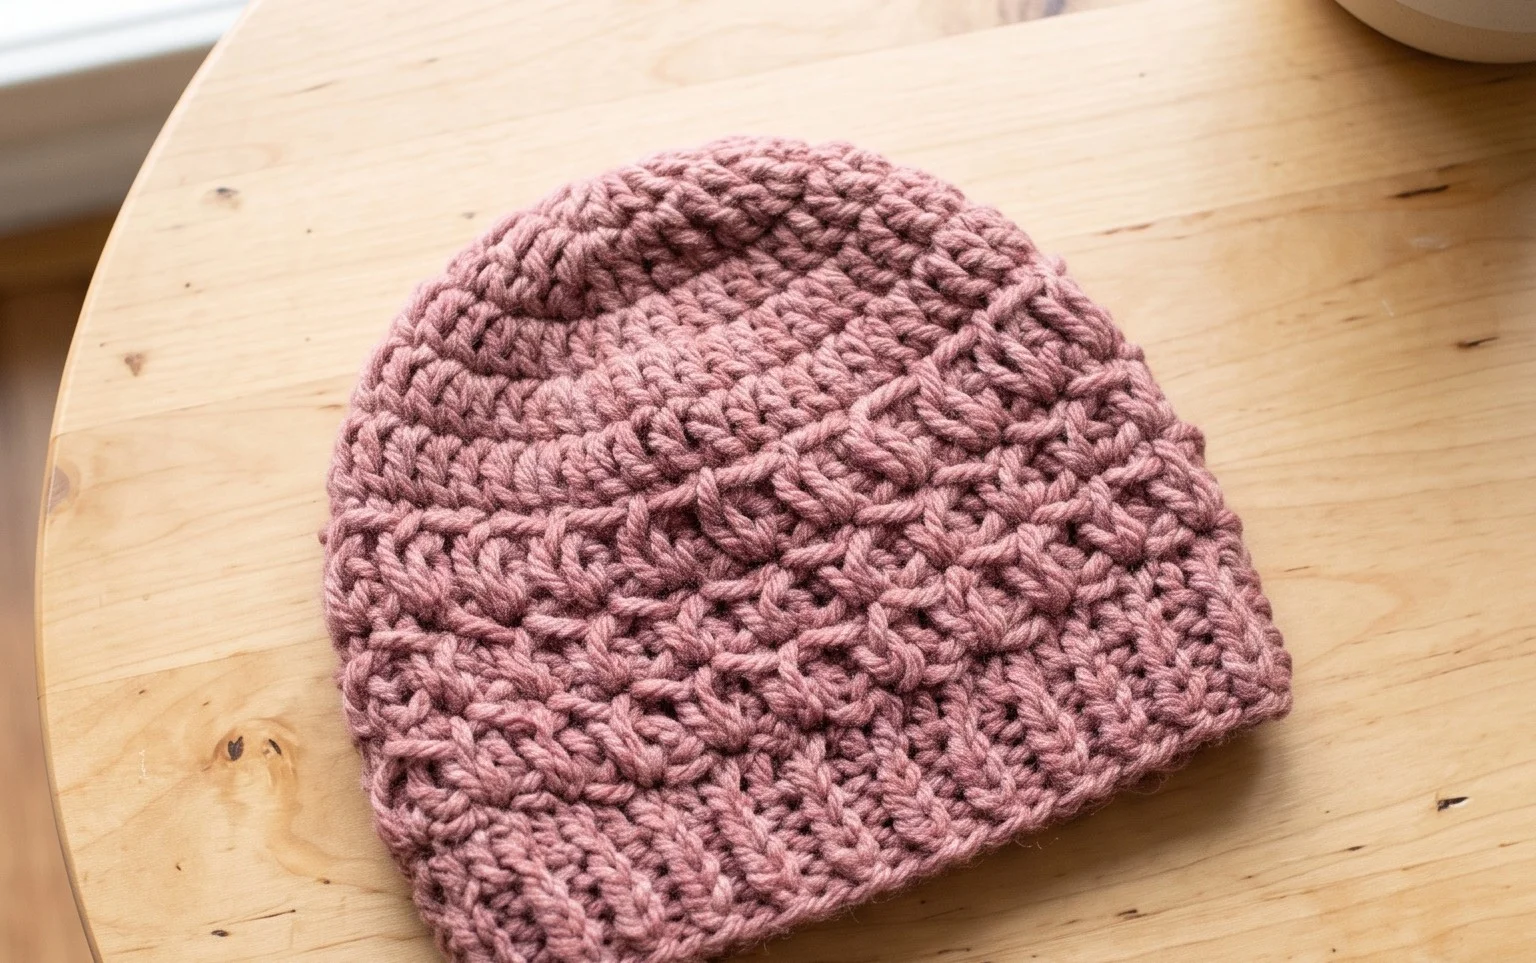
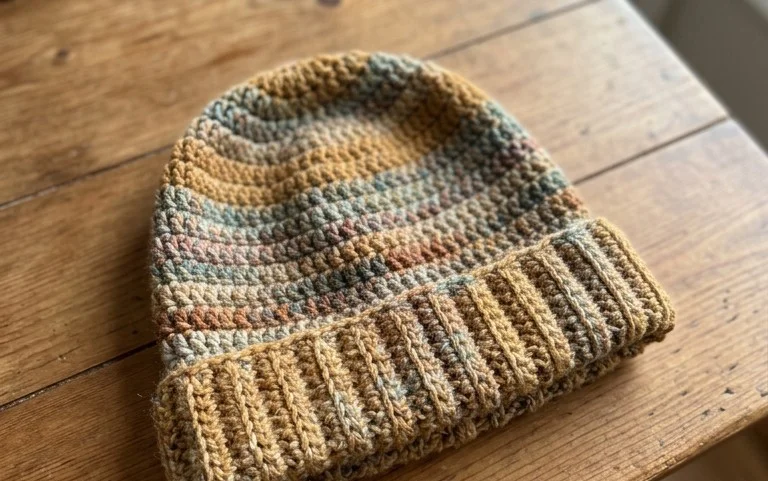
This crochet ribbed beanie offers a classic, fitted silhouette that sits comfortably against the ears without sliding. Because it is worked as a flat rectangle and seamed at the end, it is an ideal project for those who prefer working in rows rather than rounds. The stitch pattern relies on working into the back loops only, which creates a flexible, stretchy fabric that resembles traditional hand-knitted ribbing. It works up quickly using a worsted weight yarn, making it a reliable choice for last-minute gifts or stocking your market inventory.
I managed to finish this hat in one long evening of television watching. It is exactly the right amount of stretch and does not feel too tight on the head.
— Sarah, hobbyist maker
Pattern Overview & Skill Level
- Skill Level: Beginner
- Approximate Time: 3 to 5 hours
- Construction: Worked flat in rows to create a rectangle, then seamed to form a tube and cinched at the top.
- Finished Dimensions & Sizing: Fits an average adult head (20 to 22 inch circumference). The finished rectangle measures approximately 9 inches tall by 18 inches wide before seaming.
Materials & Supplies Needed
- Yarn: Worsted weight (#4), wool or acrylic blend. Approximately 200 yards required.
- Hook Size: 5.0 mm (H-8) crochet hook.
- Notions needed: Tapestry needle for seaming and weaving ends, locking stitch markers to track row ends, and scissors.
- Safe yarn substitutions: You can use a DK weight yarn if you size up your hook to a 5.5 mm to maintain drape, though the hat will be slightly less dense. Avoid 100% cotton yarn for this pattern, as it lacks the necessary elasticity to maintain the hat’s shape over time.
Stitch Guide & Abbreviations (US Terms)
- ch = chain
- st/sts = stitch/stitches
- sl st = slip stitch
- BLO = back loop only (insert hook under the back loop of the V-stitch only)
- RS = right side
- WS = wrong side
Step-by-Step Pattern Instructions
Main Hat Body
- Row 1: Ch 45. Sc in the second ch from the hook and in each ch across. Ch 1, turn. (44 sts)
- Row 2: Sc in BLO of each st across. Ch 1, turn. (44 sts)
- Rows 3-60: Repeat Row 2 until the piece measures approximately 18 inches wide when stretched slightly. Ensure you maintain a consistent tension so the fabric remains uniform. (44 sts)
- Fastening Off: Leave a long tail of yarn, approximately 12 inches, before cutting the yarn. This tail is necessary for both the side seam and the top cinching.
Assembly and Finishing
- Seaming: Fold the rectangle in half, matching the short ends together with the RS facing inward. Use your tapestry needle and the long tail to whip stitch or mattress stitch the two short ends together to create a tube.
- Cinching the Top: With the hat inside out, weave your yarn tail in and out of the ends of every other row along the top edge of the tube. Pull the tail tightly to draw the opening closed. Secure the yarn with a tight knot.
- Final Step: Turn the hat right side out and weave in all loose ends on the interior to prevent them from unraveling.
Care & Washing Instructions
- Hand wash your finished hat in cool water with a small amount of mild wool-safe detergent.
- Lay the item flat on a dry towel to air dry, reshaping it gently while damp to ensure the ribbing remains even.
- Do not hang the hat to dry, as the weight of the water can cause the yarn to stretch out of shape permanently.
Pro Tips & Common Mistakes to Avoid
One common mistake is working too tightly on the foundation chain. If your chain is tight, the bottom edge of the hat will not stretch as much as the rest of the fabric. Use a hook one size larger for your foundation chain only to avoid this. Keep a stitch marker at the end of every row to ensure you are not accidentally dropping stitches, which would cause the rectangle to slant. Weave your ends in by traveling through the underside of the stitches in the same direction you worked the rows to keep the seam invisible. If you want a larger or smaller hat, add or subtract rows in increments of two, keeping in mind that each row adds approximately 0.3 inches to the circumference.
Frequently Asked Questions
Can I use a larger hook size for this project?
Yes, using a larger hook will create a softer, looser fabric, but it may lead to a hat that loses its shape more quickly. Stick to the recommended hook size for the best results.
Is this pattern suitable for complete beginners?
This pattern is perfect for beginners because it uses only the single crochet stitch and works in simple, repeatable rows without complex shaping.
How do I adjust the height of the hat?
To make the hat taller or shorter, simply change your starting chain length. Increase the number of chains for a slouchier fit or decrease them for a snug, classic fit.
May I sell items made from this pattern?
You are welcome to sell finished items made from this design, provided you credit the pattern and use your own photographs for your listings.
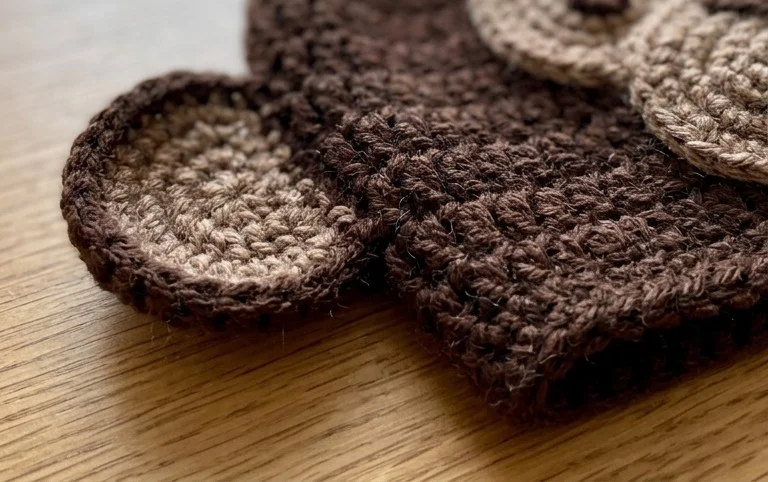
Your finished beanie brings a fun and cozy element to any winter outfit once the final seam is secure. Change the character appearance by using variegated yarn for a wilder mane or adjusting the ear size for a different species look. Share a photo of your creation with the crafting community online to see how others interpreted the instructions. Explore more free patterns on our blog to keep your hooks busy throughout the season while practicing new techniques at your own pace.