Easy Crochet Feather Stitch Tutorial: Step-by-Step Guide
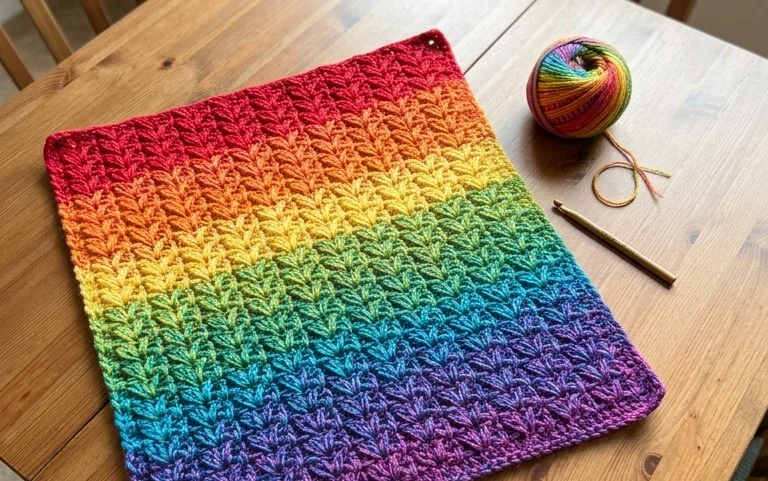
The feather stitch creates a soft, plush texture that resembles small, overlapping plumes, making it a favorite for blankets, cowls, and winter accessories. This rhythmic technique relies on chaining and double crochet clusters, which settle into a dense, cozy fabric that feels warm against the skin. You will find that the process becomes almost meditative once you establish the pattern flow. Beginners often appreciate how forgiving this stitch is, as the overlapping nature hides minor tension inconsistencies. Whether you are building a stash of handmade gifts or decorating your home with a unique throw, this simple guide helps you master the technique quickly.
Why You’ll Love This Pattern
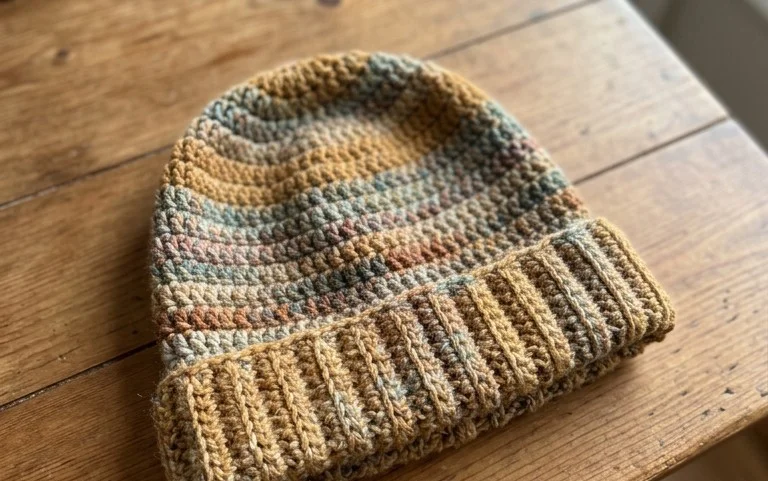
This crochet ribbed beanie offers a classic, snug fit that works well for both casual outings and outdoor activities. It relies on a simple vertical panel construction, which means you work in flat rows rather than complex rounds, making it ideal for those who prefer to keep their stitch counts consistent. The ribbing provides natural elasticity, allowing the hat to sit comfortably against your head without losing its shape over time. Because it uses a basic half-double crochet stitch worked in the back loops only, you can finish this project in a single evening, even if you are relatively new to the craft.
I managed to finish this hat in just one sitting while watching a movie. The instructions were very easy to follow and the finished product looks like it came from a high-end boutique.
— Sarah, beginner crocheter
Pattern Overview & Skill Level
- Skill Level: Beginner
- Approximate Time: 3 to 4 hours
- Construction: Worked as a flat rectangular panel in rows, then seamed along the side and cinched at the top.
- Finished Dimensions: 9 inches wide by 10 inches tall (fits most adult heads).
Materials & Supplies Needed
- Yarn: Worsted weight (#4), 100% acrylic or wool blend, approximately 200 yards.
- Hook Size: 5.5 mm / I-9.
- Notions: Tapestry needle for seaming and weaving in ends, locking stitch markers, and a tape measure.
- Safe yarn substitutions: You can use any worsted weight yarn, but keep in mind that 100% cotton will have less stretch than wool or acrylic. If you choose cotton, you may need to add an extra inch to your foundation chain to ensure a comfortable fit.
Stitch Guide & Abbreviations (US Terms)
- ch: chain
- hdc: half double crochet
- BLO: back loop only (insert hook into the furthest loop of the stitch instead of both)
- sl st: slip stitch
- st/sts: stitch/stitches
Step-by-Step Pattern Instructions
Main Hat Panel
- Row 1: Ch 41. Hdc in the second ch from the hook and each ch across. Turn. (40 sts)
- Row 2: Ch 1, hdc in the BLO of each st across. Turn. (40 sts)
- Rows 3 to 60: Repeat Row 2 until the piece measures roughly 18 inches when slightly stretched, or until you reach your desired circumference.
Assembly and Finishing
- Seaming: Fold the rectangle in half, matching the short ends. Using a tapestry needle and a length of matching yarn, sl st or sew the two short ends together to create a tube. Do not fasten off yet.
- Closing the Crown: With the tube inside out, weave your yarn in and out of the stitches along the top edge of the hat. Pull the yarn tail tight to gather the fabric and close the hole at the top. Secure the yarn with a few tight knots on the inside.
- Final Step: Weave in all remaining loose yarn ends securely into the fabric, then turn the hat right-side out.
Care & Washing Instructions
- Hand wash your finished hat in cool water with a mild detergent to preserve the fibers.
- Gently squeeze out excess water with a towel; do not wring or twist the hat, as this can damage the ribbing.
- Lay the hat flat on a dry towel in a shaded area to air dry, reshaping it while damp if necessary.
Pro Tips & Common Mistakes to Avoid
Maintain consistent tension throughout your rows to ensure the edges of your rectangle remain straight. If your tension is too tight, the finished hat will feel stiff rather than stretchy. Use a stitch marker at the first and last stitch of every row to ensure you do not accidentally drop or add stitches at the turning points, as this is the most common mistake that leads to a lopsided rectangle. When weaving in your ends, run the needle through the center of the stitches rather than across the surface to keep the repair invisible. If you decide to adjust the size, add or subtract stitches in increments of two, keeping in mind that each additional inch in length will require approximately 15 extra yards of yarn.
Frequently Asked Questions
Can I use a different yarn weight for this pattern?
While this pattern is designed for worsted weight yarn, you can use a bulky weight yarn if you adjust your starting chain length. You will need fewer rows to reach the same width, but the finished hat will be significantly thicker.
Is this pattern suitable for someone who has never crocheted before?
Yes, because it uses only the half-double crochet stitch and focuses on flat rows, it is an excellent first project for beginners who want to move beyond simple squares.
How can I make the hat larger or smaller?
To change the circumference, add or subtract chains from your foundation row. To change the depth of the hat, add or subtract the total number of rows you work before seaming.
Am I allowed to sell hats made from this pattern?
Yes, you are welcome to sell finished items made from this design. Please credit the pattern origin whenever possible.
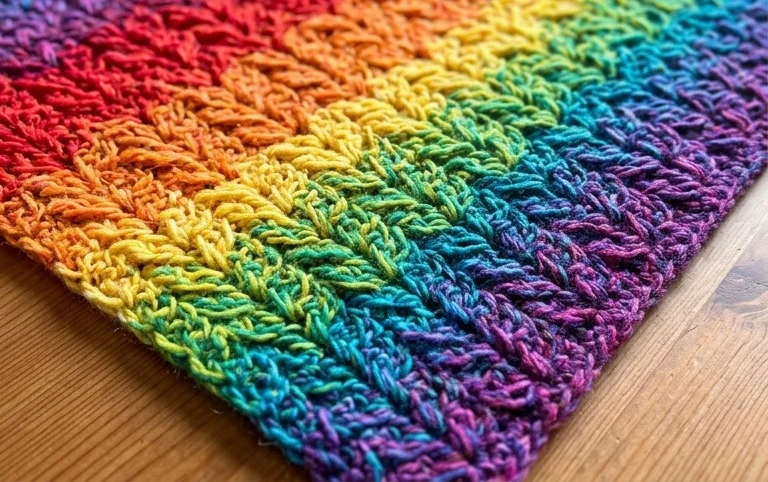
Your finished project displays a beautiful, delicate texture that adds warmth to any living space or outfit. You might consider using a variegated wool yarn to highlight the layered stitch pattern or work a smaller sample to create a set of matching coasters for your coffee table. Please share a photo of your work on your favorite social media platform so others can see your progress. You can find more free patterns and stitch tutorials by browsing the project archive on this blog for your next afternoon hobby session.