Free Beginner Crochet Pattern: Small Desk Amigurumi
This miniature crochet project creates a firm, tactile shape that sits flat on any surface. Its smooth exterior highlights the clean lines of simple cotton yarn, making it a great choice for those learning to manage consistent tension in round stitches. You will learn the basics of the magic ring and how to build height using continuous spirals, which removes the need for visible join lines. Whether you are stocking up on handmade gifts or filling an empty spot on your bookshelf, this little piece works up fast. You get a finished item in just two hours.
Why Crocheters Love It
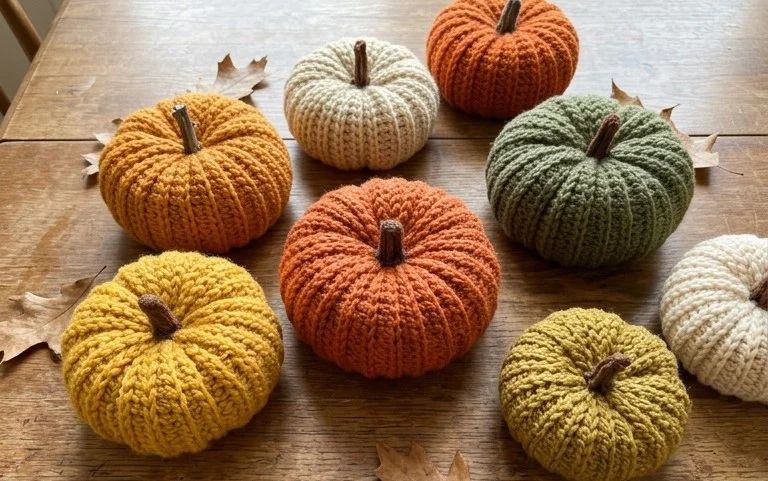
This beginner-friendly project works up in under two hours, making it an ideal choice for last-minute gift-giving or testing out a new yarn color. Because the construction uses basic single crochet stitches in continuous rounds, it is an excellent way to practice maintaining consistent tension without the distraction of complex color changes or intricate stitch patterns. The design is scrap-yarn friendly, requiring less than 50 yards of medium weight yarn, so you can easily pull from your existing stash to complete the piece. Many crafters find the repetitive nature of this pattern meditative, allowing for a relaxing evening of stitching while listening to a podcast or audiobook.
I managed to finish this pattern in a single afternoon and the size is exactly what I wanted for my desk. The instructions were easy to follow and my stitches looked professional on the very first try.
— Sarah, hobbyist crafter
Pattern Overview & Skill Level
- Skill Level: Beginner
- Approximate Time: 1 to 2 hours
- Construction: Amigurumi-style continuous rounds starting with a magic ring
- Finished Dimensions: 4 inches tall by 3 inches wide
Materials & Supplies Needed
- Yarn: Worsted weight (#4), 100% cotton, approximately 40 yards. Cotton provides the structure needed for 3D shapes.
- Hook Size: 4.0 mm (US G-6).
- Notions: Tapestry needle for weaving ends, stitch markers for keeping track of rounds, fiberfill stuffing, and a pair of 8mm safety eyes.
- Yarn Substitutions: Acrylic worsted weight yarn is a suitable alternative, though the finished piece will be slightly softer and may require more stuffing to hold its shape firmly. Avoid bulky yarns, as they will alter the finished dimensions and make the stitch count too large for the safety eyes.
Stitch Guide & Abbreviations (US Terms)
- MR: Magic ring
- ch: Chain
- sc: Single crochet
- inc: 2 sc in same stitch
- dec: Single crochet two stitches together (invisible decrease recommended)
- sl st: Slip stitch
- st/sts: Stitch/stitches
Step-by-Step Pattern Instructions
Body
- Rnd 1: 6 sc in MR (6 sts)
- Rnd 2: inc in each st around (12 sts)
- Rnd 3: [sc, inc] 6 times (18 sts)
- Rnd 4: [2 sc, inc] 6 times (24 sts)
- Rnd 5: [3 sc, inc] 6 times (30 sts)
- Rnd 6-12: sc in each st around (30 sts)
- Rnd 13: [3 sc, dec] 6 times (24 sts)
- Rnd 14: [2 sc, dec] 6 times (18 sts). Insert safety eyes between rounds 9 and 10, spaced 5 stitches apart. Begin adding fiberfill stuffing.
- Rnd 15: [sc, dec] 6 times (12 sts)
- Rnd 16: dec 6 times (6 sts)
Finishing
Cut the yarn leaving a 6-inch tail. Use the tapestry needle to weave the yarn through the front loops of the remaining 6 stitches and pull tightly to close the opening. Secure the end with a knot and weave the remaining yarn tail into the body to hide it completely.
Care & Washing Instructions
- Hand wash in cool water using a mild detergent to prevent the fiberfill from clumping or shifting inside the piece.
- Gently squeeze out excess water with a towel, taking care not to wring or twist the item to maintain its shape.
- Lay the piece flat on a clean surface or drying rack away from direct sunlight until it is completely dry.
Pro Tips & Common Mistakes to Avoid
Maintain consistent tension by holding your yarn with a steady grip, which is essential for preventing stuffing from showing through the gaps between your stitches. Always place a stitch marker in the first stitch of every round; since you are working in continuous spirals, it is easy to lose track of where one round ends and the next begins. When weaving in your ends, run the needle through the center of the fiberfill rather than just underneath surface stitches to ensure the yarn tail stays anchored permanently. If you decide to adjust the size, adding extra rounds to the body will significantly increase your yarn consumption, so ensure you have sufficient yardage before modifying the pattern.
Frequently Asked Questions
Can I use a larger hook size for this project?
Using a larger hook will result in a larger, looser finished item. Your stitches will have visible gaps that allow the fiberfill to peek through, so it is recommended to stick with the 4.0 mm hook for a dense, professional fabric.
How do I know when to stop stuffing?
Add stuffing until the piece feels firm but not overstretched. You should be able to squeeze the item slightly without seeing the stuffing inside, indicating that you have used the correct amount of filler for the stitch density.
Is this pattern suitable for complete beginners?
Yes, this is an excellent starter project. It focuses on the most fundamental amigurumi techniques, including increasing, decreasing, and working in rounds, which are the building blocks for more complex stuffed toy patterns.
Am I allowed to sell the items I make from this pattern?
Check the original designer’s terms of service provided with the purchase or the pattern download page. Most independent designers allow for small-scale sales of finished goods, provided you credit them as the pattern author, but always verify before selling items commercially.
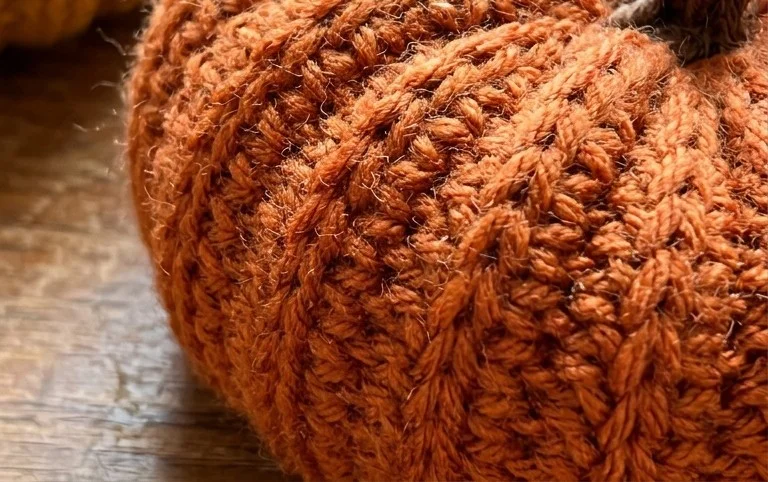
Your new crochet piece brings a subtle touch of texture to your workspace, standing firm thanks to the structure of the cotton yarn. Try working this in a variegated wool for a softer feel or add a ribbon if you want to hang it as a seasonal ornament. Sharing your finished results on social media helps others find the project, and you can find more free patterns like this one by browsing the rest of our archives. Every stitch counts when building your confidence in the craft.