Easy Crochet Sweater Pets: Free Beginner Pattern Guide
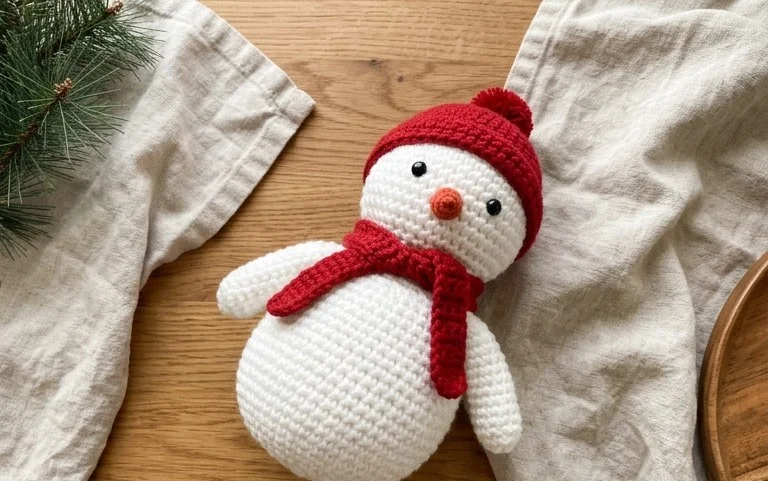
These tiny stuffed animals wear miniature sweaters that add a soft, textured contrast to their simple yarn bodies. This project works well for anyone new to working in the round, as it relies on basic single crochet stitches that form a tight fabric. You will find that holding your hook with a comfortable tension keeps the polyester stuffing from poking through the gaps. Whether you need a small gift for a friend or a quick weekend craft to clear out your scrap yarn bin, this pattern provides a reliable foundation. You will master shaping while building a finished character in one session.
Why You Will Love This Pattern
This beginner-friendly project works up quickly using basic amigurumi techniques, making it an excellent choice for a weekend afternoon or a last-minute gift. The construction relies on a continuous spiral, which removes the need for joining rounds and creates a smooth, seamless finish. Because it requires only a small amount of yarn, you can easily pull from your existing stash to create several of these in different colors. The resulting toy is durable enough for play and features a simple shape that is easy to master if you are just learning how to read crochet patterns.
I was able to finish this little toy in under two hours while watching a movie, and the instructions were clear enough that I didn’t have to restart a single round.
— Sarah, amigurumi hobbyist
Pattern Overview & Skill Level
- Skill Level: Beginner
- Approximate Time: 1 to 2 hours
- Construction: Worked in continuous rounds using a magic ring for the base, ending with a whip-stitched closure.
- Finished Dimensions: 4 inches tall by 3 inches wide.
Materials & Supplies Needed
- Yarn: Worsted weight (#4) acrylic or cotton yarn. Approximately 30 yards for the main body and 5 yards for accent details.
- Hook Size: 3.5 mm (E-4) for a tight gauge to prevent stuffing from showing through.
- Notions: Tapestry needle, stitch markers, polyester fiberfill stuffing, and 8mm plastic safety eyes.
- Yarn substitutions: You may use DK weight yarn for a smaller toy, but reduce your hook size to 3.0 mm to maintain a dense fabric. Using a heavier yarn like bulky weight will increase the finished size significantly and require more stuffing.
Stitch Guide & Abbreviations (US Terms)
- MR = magic ring
- ch = chain
- sc = single crochet
- inc = increase (work 2 sc in the same stitch)
- dec = invisible decrease (insert hook into front loops of the next 2 stitches, yarn over, pull through 2 loops, yarn over, pull through remaining loops on hook)
- st/sts = stitch/stitches
- sl st = slip stitch
Step-by-Step Pattern Instructions
Body
- Rnd 1: 6 sc in MR (6 sts)
- Rnd 2: Inc in each st around (12 sts)
- Rnd 3: [Sc, inc] 6 times (18 sts)
- Rnd 4: [2 sc, inc] 6 times (24 sts)
- Rnd 5: [3 sc, inc] 6 times (30 sts)
- Rnd 6-12: Sc in each st around (30 sts)
- Rnd 13: [3 sc, dec] 6 times (24 sts)
- Rnd 14: [2 sc, dec] 6 times (18 sts)
- Insert safety eyes between Rnd 9 and Rnd 10, spaced 5 stitches apart. Begin stuffing the body firmly.
- Rnd 15: [Sc, dec] 6 times (12 sts)
- Rnd 16: Dec 6 times (6 sts)
Finishing and Assembly
Cut the yarn, leaving an 8-inch tail. Use your tapestry needle to weave the tail through the front loops of the remaining 6 stitches. Pull tight to close the hole securely and knot the end inside the body. Embroider a small mouth between the eyes using a scrap piece of black yarn if desired.
Care & Washing Instructions
- Hand wash the item in cool water using a gentle detergent to maintain the shape of the fiberfill.
- Lay the item flat on a clean towel to air dry, turning it occasionally to ensure even evaporation.
- Avoid heat sources like hair dryers or radiators, as high temperatures can melt synthetic yarn or deform the stuffing.
Pro Tips & Common Mistakes to Avoid
Maintain consistent tension throughout the project to ensure the stuffing does not peek through the gaps between stitches. Always place a stitch marker in the first stitch of every round so you do not lose your place in the spiral. When weaving in your ends, anchor the yarn by passing it through the interior fibers of the toy twice before cutting, which prevents the yarn from working its way out over time. To adjust the size, simply add or subtract rounds in the straight section (Rnds 6-12); note that adding length will require more yarn and extra stuffing.
Frequently Asked Questions
Can I use a larger crochet hook for this project?
Using a larger hook will create looser stitches, which allows the fiberfill stuffing to show through. Stick to a 3.5mm hook or smaller to keep the fabric dense and professional.
Is this pattern suitable for complete beginners?
Yes, this pattern uses only standard single crochet stitches and basic increases and decreases. It is a great way to learn how to work in the round.
Can I sell the finished toys I make from this pattern?
Check the designer’s specific copyright terms included with your download. Most designers allow small-scale sales but require you to credit the pattern source.
What is the best way to stuff the toy evenly?
Add small pinches of fiberfill at a time rather than one large clump. Use the back of your crochet hook to push the stuffing into the edges to prevent lumpy or uneven spots.
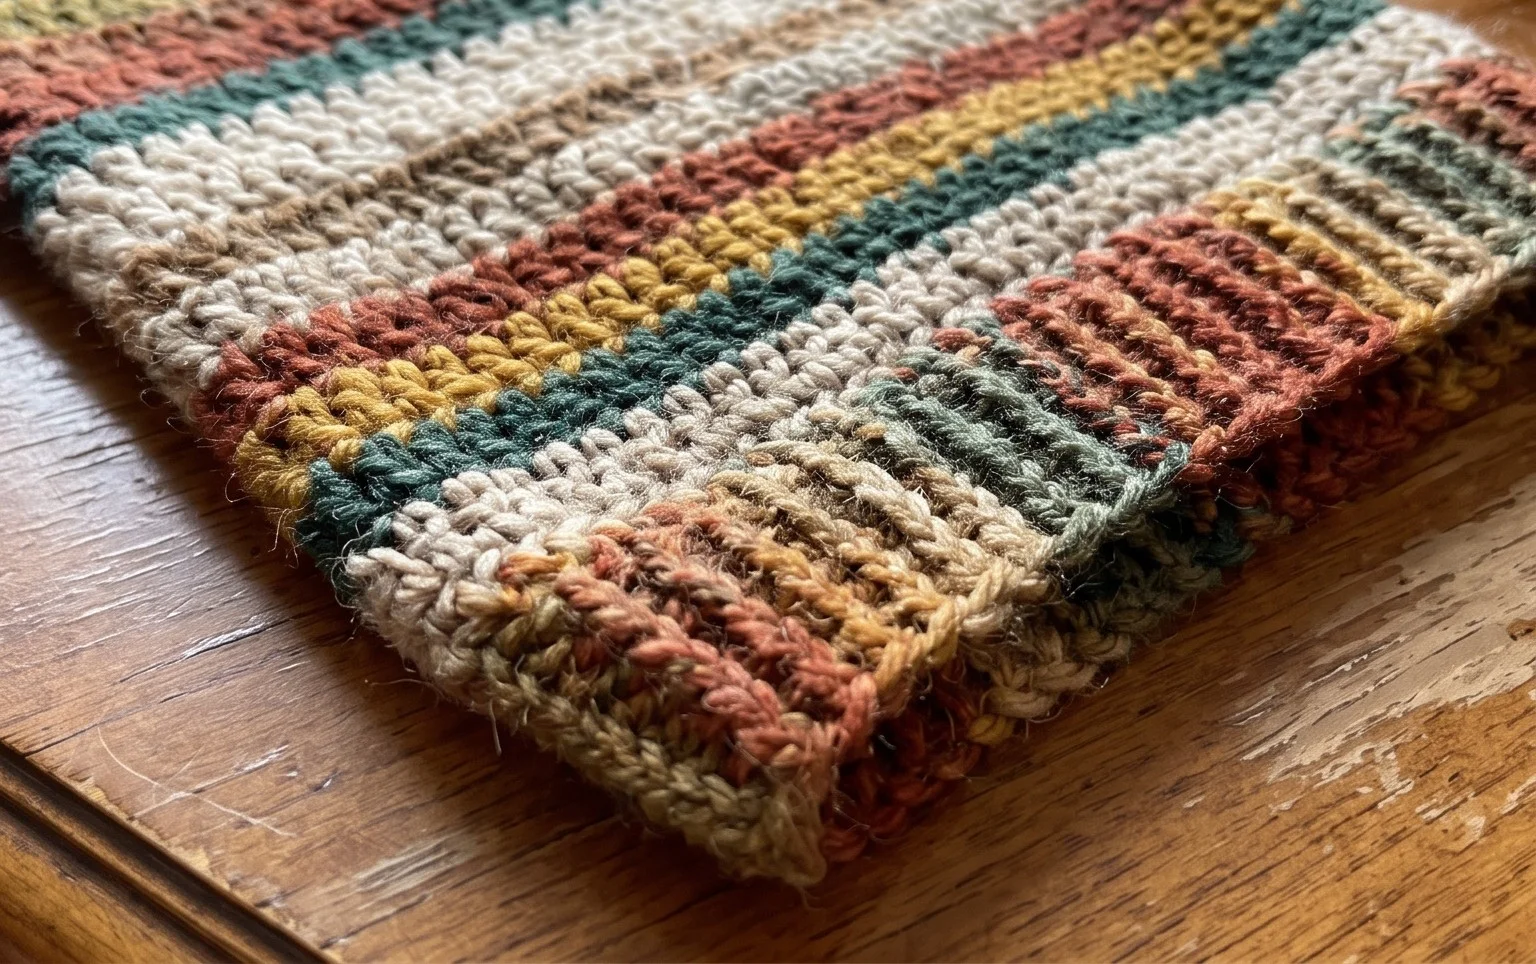
Your finished pet stands securely on its own and adds a handmade touch to any desk or shelf. Changing the yarn to a fuzzy mohair blend gives the sweater a realistic texture, while bright wool makes the toy look like a modern accessory. Sharing a photo of your work on social media helps other makers see how different color combinations turn out. You can find more free patterns like this one by browsing the archives on the blog page for your next afternoon hobby session.