15 Easy Rustic Christmas Decor Ideas: Free Crochet Pattern
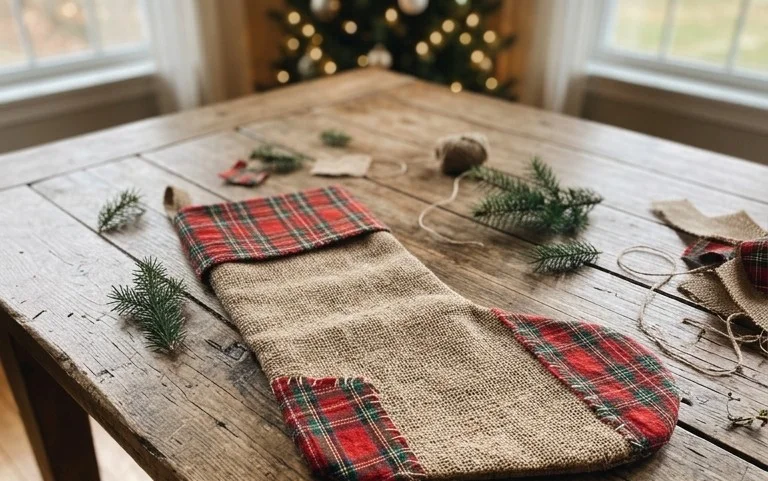
Coarse burlap paired with deep red and forest green wool creates a warm, homespun look that softens the sharp corners of a fireplace mantel during the holidays. You can feel the tactile weight of the yarn in your hands as you loop each stitch, building a sturdy square that holds its shape under a heavy ceramic mug or a stack of decorative books. This project suits beginners who want a quick win and seasoned makers looking for a simple gift idea. You will learn to manage tension while working your color changes to achieve a crisp, clean finish every time.
Why You’ll Love This Pattern
The Classic Crochet Granny Square is the foundation of many heirloom blankets, bags, and garments due to its modular nature. You work from the center outward, which makes this an ideal project for keeping in your bag to work on during short commutes or while waiting for appointments. Because it uses simple double crochet clusters and chain spaces, the rhythm becomes meditative once you complete the first two rounds. It also serves as a perfect stash-buster, as each round can be worked in a different color to use up small bits of leftover yarn from previous projects.
I finally learned how to keep my corners square using this guide, and the instructions for the joining round made my blanket look so much more professional than my previous attempts.
— Sarah, hobbyist crafter
Pattern Overview & Skill Level
- Skill Level: Beginner
- Approximate Time: 30–45 minutes per square
- Construction: Worked in joined rounds, starting from a center ring
- Finished Dimensions: Approximately 6 inches by 6 inches using worsted weight yarn
Materials & Supplies Needed
- Yarn: Worsted weight (#4 medium), 100% wool or acrylic blend, approximately 20 yards per square.
- Hook Size: 5.0 mm (US H-8).
- Notions: Yarn needle with a large eye for weaving ends, sharp scissors.
- Yarn Substitutions: You can use DK weight yarn with a 4.0 mm hook for a smaller, tighter square, or bulky weight yarn with a 6.0 mm hook for a larger, quicker square. Note that changing yarn weight will significantly alter the final dimensions.
Stitch Guide & Abbreviations (US Terms)
- ch: chain
- st/sts: stitch/stitches
- sl st: slip stitch
- dc: double crochet
- sp: space (the gap created by a chain)
- cluster: a group of 3 dc stitches worked into the same space
- MR: magic ring (or ch 4 and join with sl st to form a ring)
Step-by-Step Pattern Instructions
Granny Square Body
- Rnd 1: Start with a MR. Ch 3 (counts as first dc), work 2 dc into the ring, ch 2. Work 3 dc into the ring, ch 2 3 times. Join with a sl st to the top of the beginning ch-3. (12 dc, 4 ch-2 spaces)
- Rnd 2: Sl st into the next dc and into the corner ch-2 space. Ch 3, (2 dc, ch 2, 3 dc) all in the same corner space. Ch 1, skip 3 sts, (3 dc, ch 2, 3 dc) in the next corner space 3 times. Ch 1, join with sl st to the top of the beginning ch-3. (24 dc, 4 ch-2 spaces, 4 ch-1 spaces)
- Rnd 3: Sl st into the next dc and into the corner ch-2 space. Ch 3, (2 dc, ch 2, 3 dc) all in the same corner space. Ch 1, 3 dc in the next ch-1 space, ch 1, (3 dc, ch 2, 3 dc) in the next corner space 3 times. Ch 1, 3 dc in the last ch-1 space, ch 1, join with sl st to the top of the beginning ch-3. (36 dc, 4 ch-2 spaces, 8 ch-1 spaces)
- Rnd 4: Continue in this pattern, placing (3 dc, ch 2, 3 dc) in each corner and 3 dc in each side ch-1 space, separated by ch-1. Repeat until the square reaches your desired size. (48+ sts depending on rounds)
Finishing
After completing your final round, cut the yarn leaving a 6-inch tail. Pull the tail through the final loop and tighten. Thread your yarn needle and weave the tail into the back of the work, moving through the base of the stitches to ensure it is secure. Trim any excess yarn close to the fabric.
Care & Washing Instructions
- Hand wash in cool water using a mild wool-safe detergent to preserve fiber integrity.
- Lay the square flat on a clean towel and reshape to the original dimensions while damp.
- Avoid wringing or twisting the fabric, as this causes the double crochet stitches to stretch out of shape.
Pro Tips & Common Mistakes to Avoid
Maintaining consistent tension is vital for a flat square; if your corners begin to cup or ripple, try adjusting your chain stitches to be slightly looser. Always use a stitch marker in the first stitch of every round to avoid accidentally skipping the joining point, which can lead to a lopsided square. When weaving in ends, follow the path of the yarn in the back of the work rather than cutting across the front to keep the finish invisible. If you decide to adjust the size, remember that each additional round will require more yarn; keep a record of your yardage per round to ensure you have enough supply for a full project.
Frequently Asked Questions
Can I use different colors for each round?
Yes, this is the most common way to make these squares. Simply fasten off at the end of each round and join your new color in any corner space to start the next round.
Why is my square not laying flat?
If the square is ruffled, your hook may be too small or your chain stitches are too tight. If the edges are curling, you may need to increase the number of chain stitches in the corners.
How do I join these squares together?
You can join them using a whip stitch with a yarn needle or by using a slip stitch join along the back loops of the outer edges of two adjacent squares.
Can I sell items made from this pattern?
You are welcome to sell finished items made from this design. Please credit the pattern origin whenever possible.
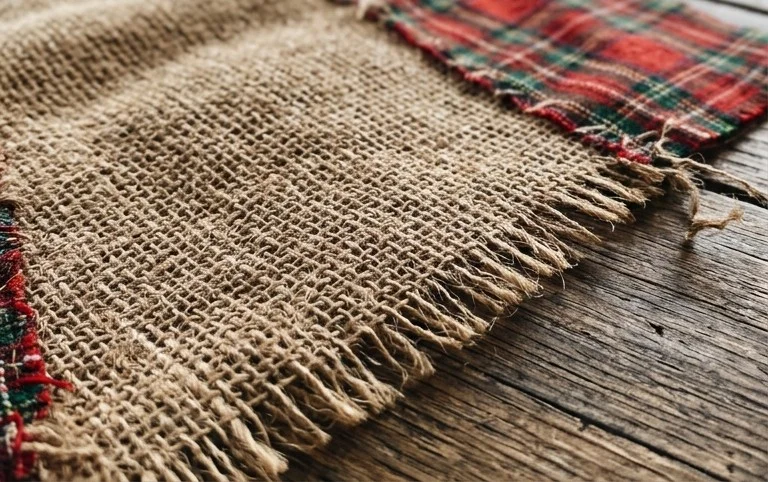
The finished square adds a layer of genuine holiday charm to your living room decor. If you want to experiment, try swapping the wool for a cotton twine mix to create a stiffer base for a farmhouse-style coaster set. Sharing your work helps others get inspired for their own craft sessions, so consider uploading a photo of your finished square to social media. Check out the rest of our pattern library for more ways to dress up your home with simple, functional yarn projects this winter.